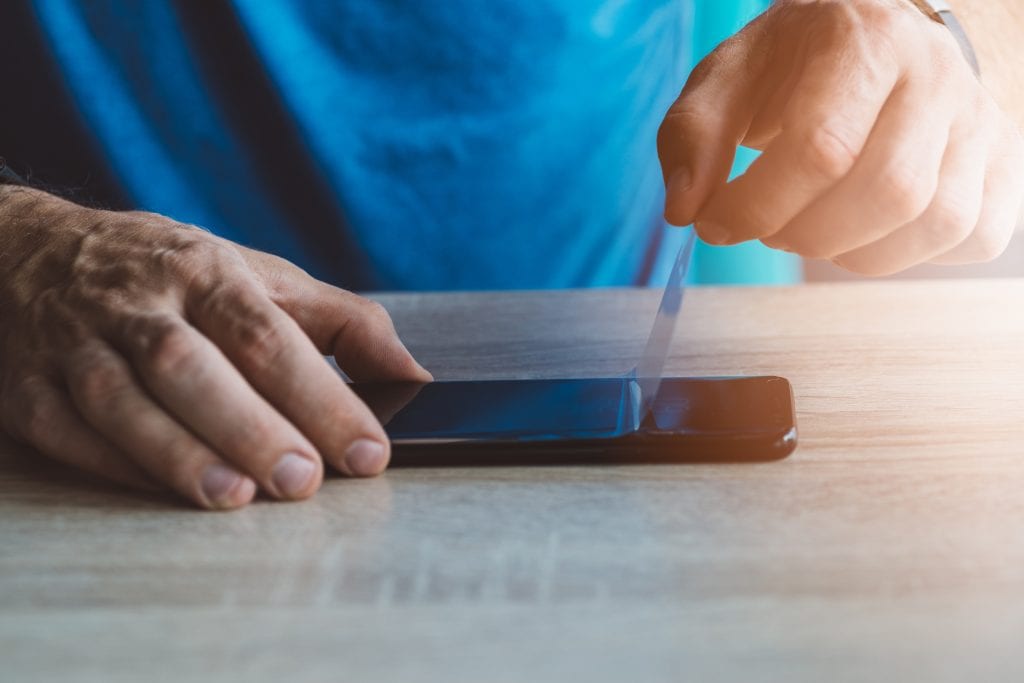
If you’ve ever installed a screen protector on your smartphone, you know how temperamental the process can be. Everything starts off hopeful. You clean your phone and eliminate every speck of dust. You carefully, slowly — very slowly — unfurl the sticky side of the screen protector. And just when you make it to the end … wham … those pesky air bubbles appear.
It’s amazing how something as small as an air bubble can diminish the sleekness of a device. It can happen with even the best screen protectors because it boils down to the application process and not the product itself. Thankfully, these bubbles are easy to get rid of if you’re armed with a few tricks up your sleeve.

Know What To Look For In A Screen Protector
Smartphones aren’t cheap and it’s wise to protect your investment. Keep everyday wear and tear, like scratches and dings, at bay by picking up a screen protector.
Older screen protectors typically consisted of flimsy material you could only apply once and never adjust, but newer versions offer added leeway. They may be made of tempered glass, nano liquid or thermoplastic polyurethane (TPU), each of which has different properties and installation quirks, so know what you’re getting into. Experts say not to put too much stock in the 9H ASTM hardness measurement that some manufacturers use; this is a marketing gimmick.
If you’re an iPhone user and have heard that modern versions don’t need screen protectors because the glass is strong enough to withstand scratches, don’t believe it. This is a common misconception and iPhone glass, while more resistant than older versions, can still get scratched, MacRumors reports.
Try To Prevent Air Bubbles During Installation
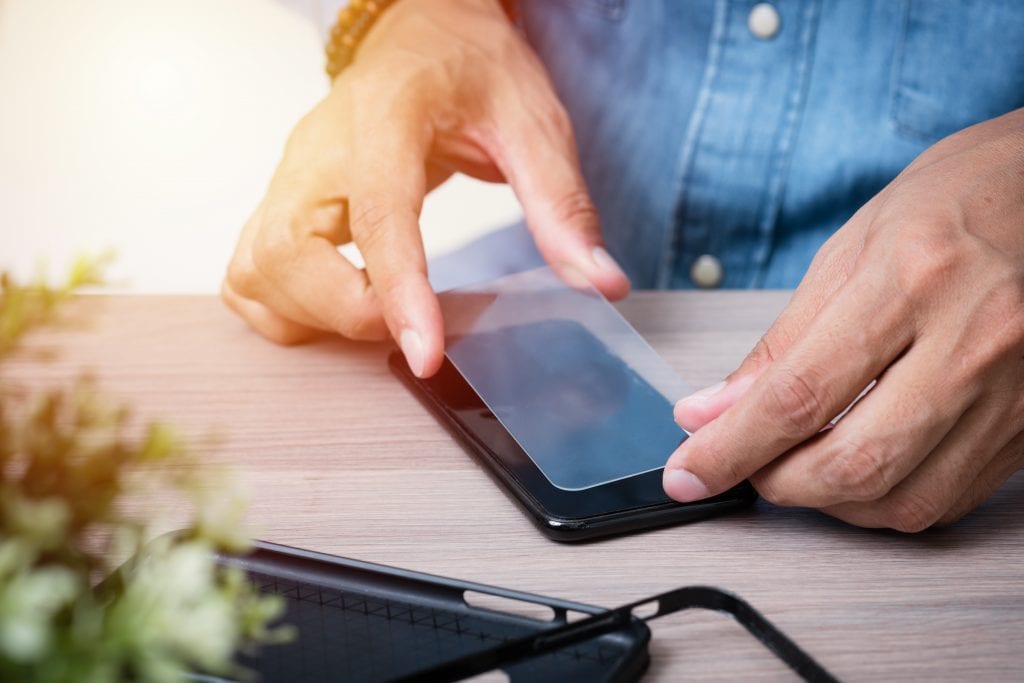
When installing a screen protector, it’s important to adhere to all of the manufacturer’s instructions. Remove your phone case or bumper and wipe it down with an alcohol wipe if it was included in the packaging. Use a light touch, as liquid can have damaging effects. Use the sticky tape or sticker (also typically included) to pick up dust particles. Press and move it along the entire surface area because even a tiny speck can cause an air bubble to form.

Use Your Finger
If an air bubble is small and located near the edge of the screen, try massaging it outward with your finger.
Try The Credit Card Trick
Break out your credit card. No, not to buy a new screen protector: you can use it to smooth out the bubble. Ever-so-carefully lift the corner of the screen protector the bubble is closest to and push it outward while using the edge of a credit card. If you don’t have a plastic card on hand, the smooth end of a butter knife can help in a pinch.
Take A Wait-And-See Approach
If you’re too nervous to remove it and try again, try the wait-and-see approach. If you’re using one of the best screen protectors with a very strong adhesive, the bubbles might disappear on their own within a day or two of application.
Reapply The Screen Protector
Some cases might call for a complete do-over. Slip an object with a flat edge, like a fingernail or credit card, under the screen protector to pry it off. Immediately reapply.

Have A Professional Install It For You
If you know you’d be better off (and happier!) turning to a professional, consider purchasing it from an Apple Store, where you can get free installation. If you buy your protector and/or your phone at the local retail outlet of your cell company, like a T-Mobile store, they can also help.
Other companies, like Best Buy, charge a small fee. Your local mall might have a cell phone kiosk that offers an installation service as well.
This story originally appeared on Don't Waste Your Money. Checkout Don't Waste Your Money for product reviews and other great ideas to save and make money.


